
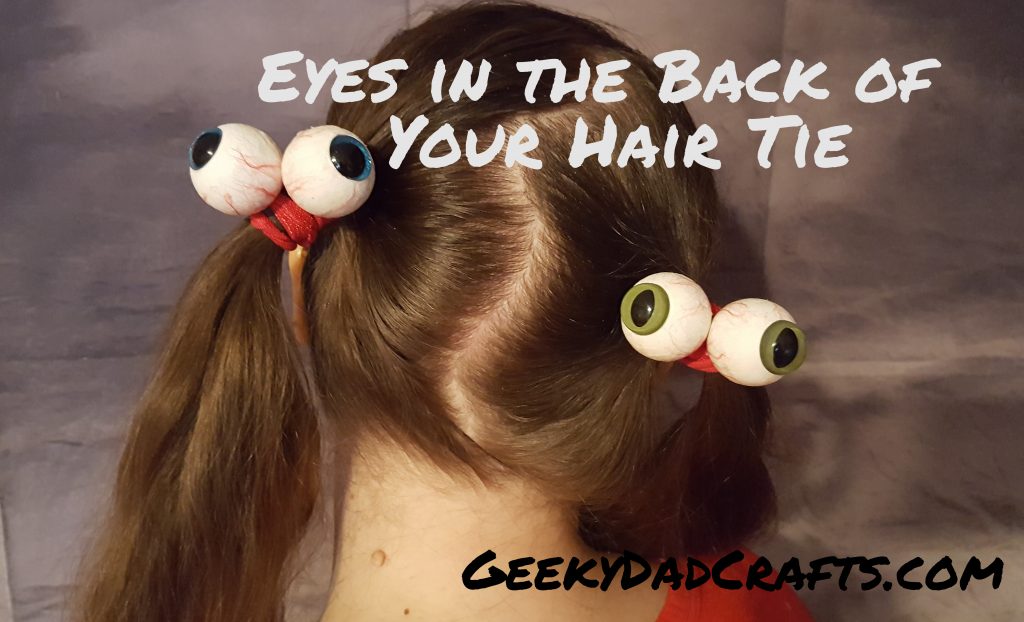
Mom was browsing Wish the other day and saw some eyeball hair ties, but she wasn’t impressed with the quality of the design, so she told me to make her some eyeballs that were eye-popping…
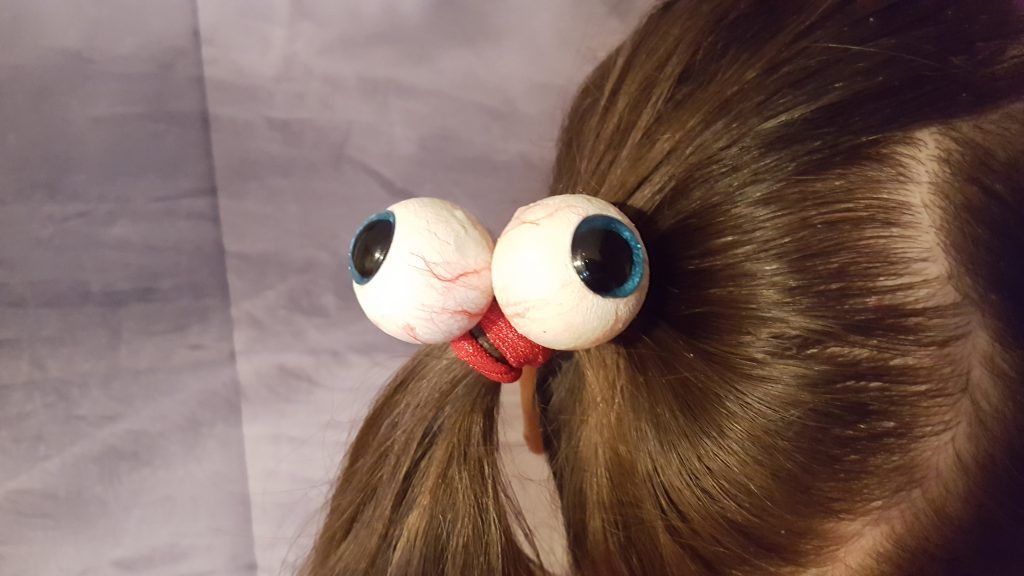
Now, she has some (really creepy) eyes for the back of her head!
Supplies
Before you decide to start desecrating corpses, we don’t use real eyes in this craft. Not anymore…
I’ve included Amazon links to everything on the supply list below. I encourage you to use what you have around the house, and even to shop your local craft store to get to know the amazing people who work there, but if you buy an item now and again through my links, it’ll go a long way to helping me keep the lights on here at GeekyDad Crafts.
Tools
- Drill
- 3/16″ Drill Bit
- Needlenose Plier
- Diagonal Cutting Plier
- 2″ Wide Blue Painter’s Tape
- Paint Brushes
Materials
- 1.25″ Wood Head Bead
- 18mm Safety Eyes
- 5/8″ Fold-Over Elastic (18″ per pair of eyes)
- CA Glue (Super Glue)
- White Acrylic Paint
- White Glue
- Red Yarn (a few inches of scrap yarn)
Instructions
- To start this craft, we have a little bit of prep work to do with some garage tools. The head beads already have a hole halfway through them, but we’re going to drill a 3/16″ hole the rest of the way through.
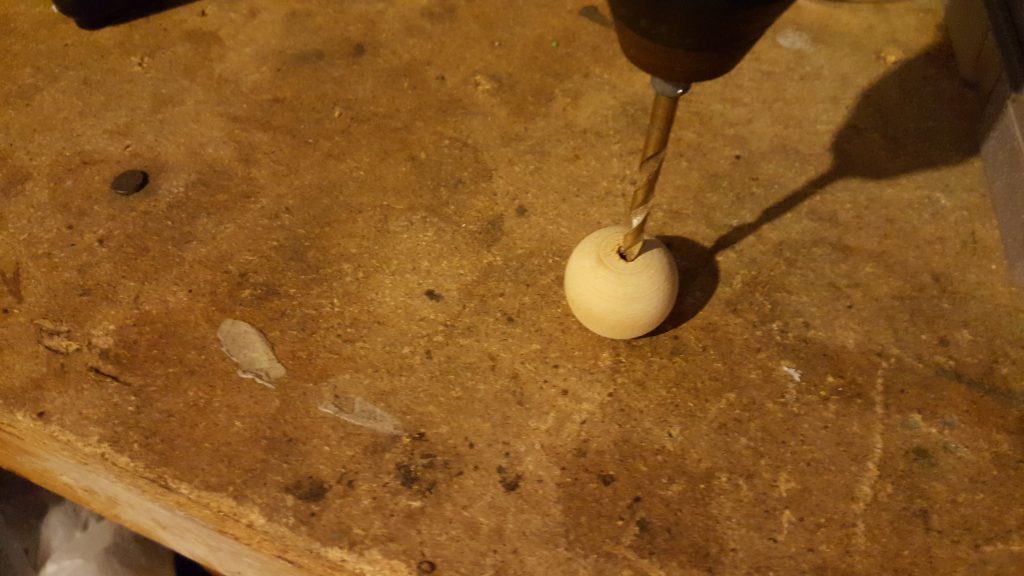 We want to drill out two head beads for each pair of eyes we’re making.
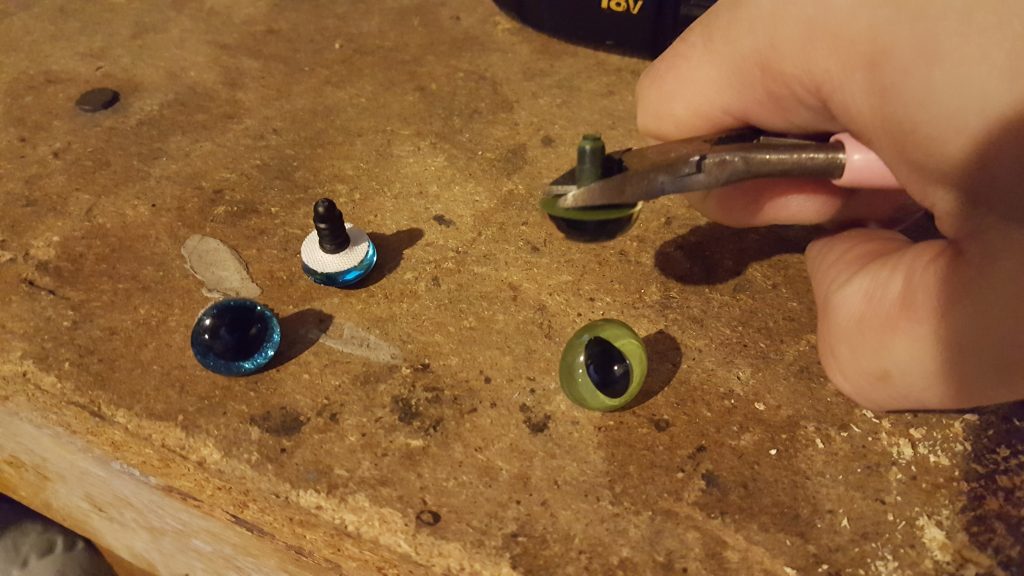
 - Then take your cutters and nip the rods off of your safety eyes.
- Set up an area that you can clean up, and paint your head beads with the white acrylic. A few coats several minutes apart will give you nice, even coverage.
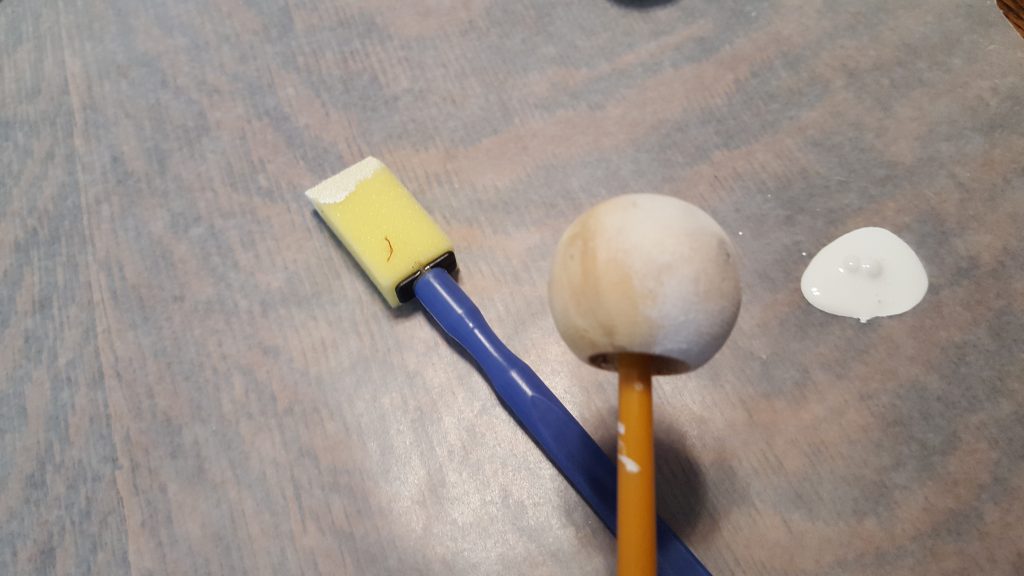 I stuck my beads on the handle of a paintbrush so I didn’t paint my fingers.
 - Cut some short pieces of red yarn and fray it into tiny clumps.
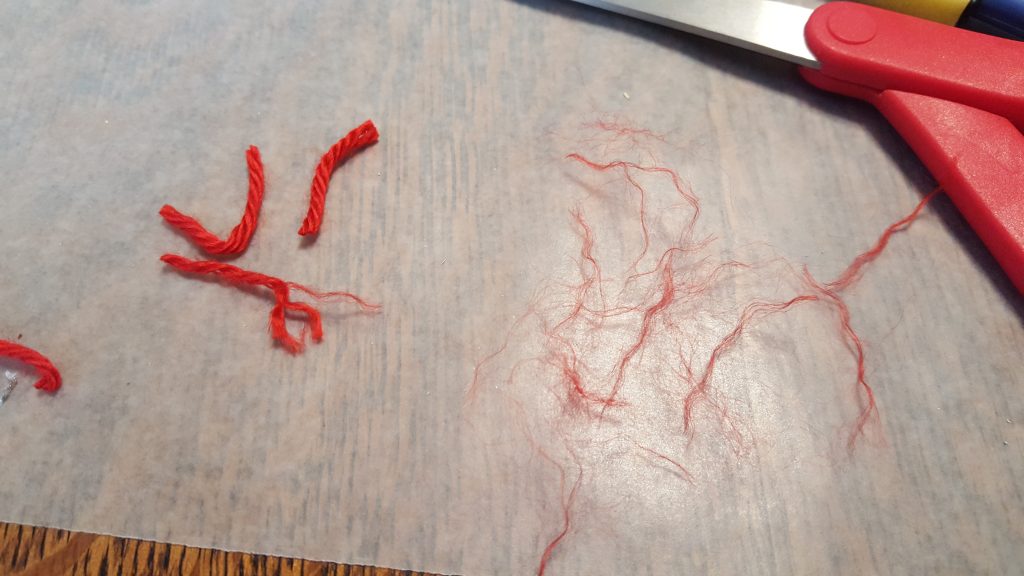
- Use a small paint brush to apply white glue to you eyeball. I did about a quarter of the eyeball at a time. Then grab a clump of frayed yarn and stick it to the glue at the small hole. Use your fingertips to carefully press the frizzies into the glue, making them look like blood vessels.

- Once the glue has dried, paint on another coat of glue to seal the the “blood vessels” down and protect the eye. Let the glue dry, then apply another coat. Do that one or two more time for good measure.
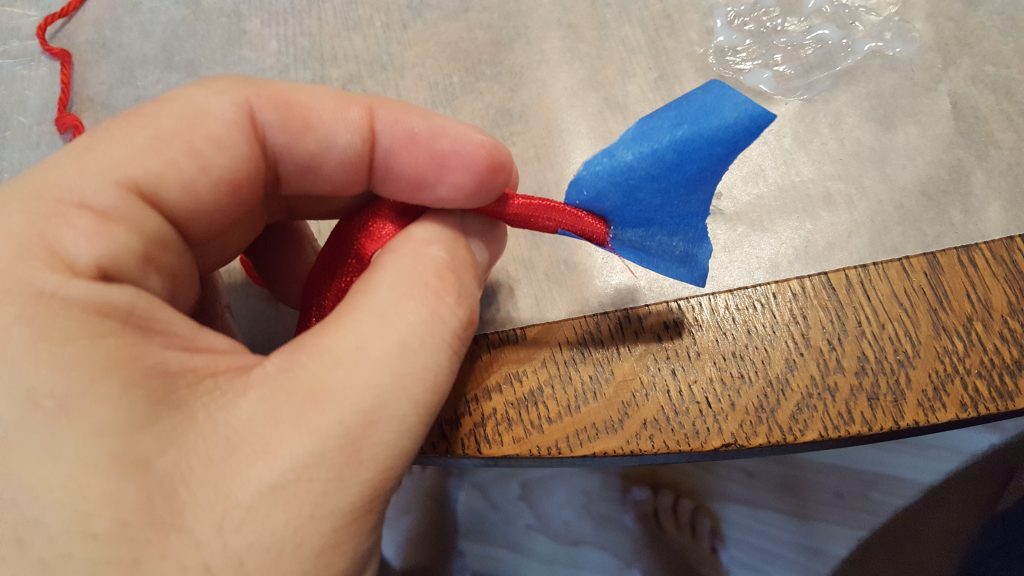
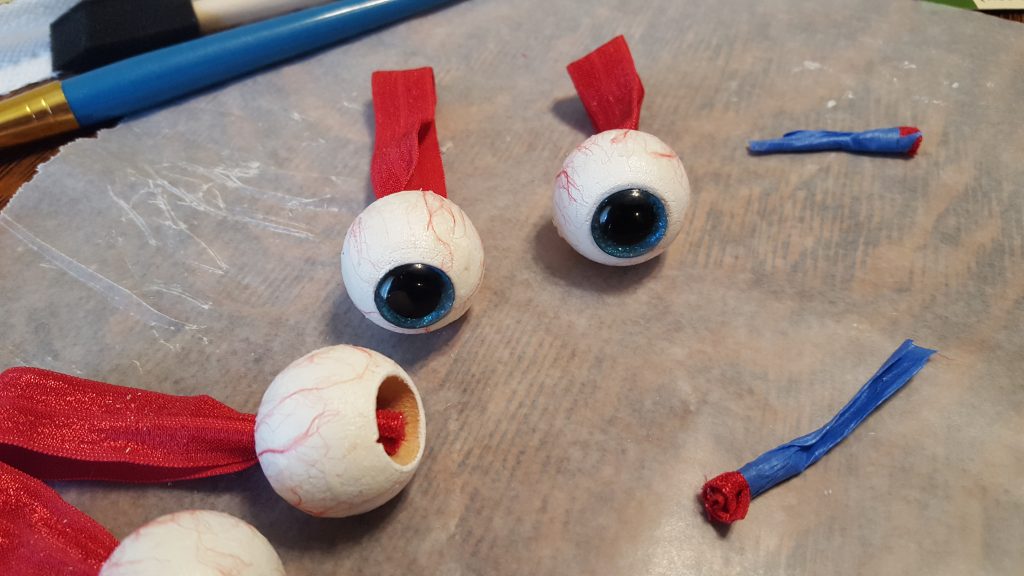
- Cut your fold-over elastic into 9″ sections, one for each eyeball. Fold the ends together and roll them tight, then secure them with the blue painter’s tape. Roll the tape to form a “needle.”
- Insert the end of the tape into the small hole on the eyeball and use the needlenose pliers to pull your elastic through. Knot the elastic to secure it.
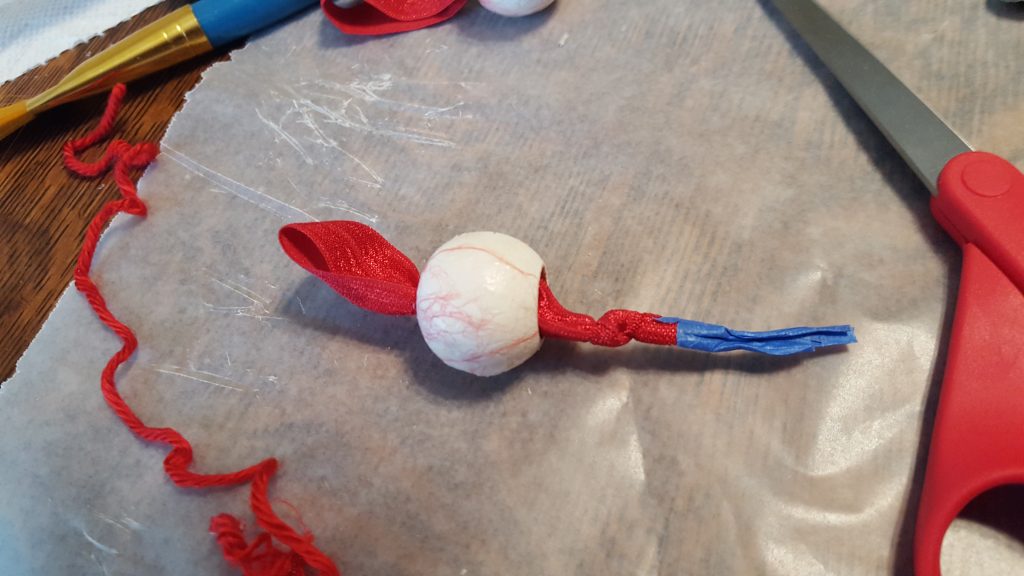
- Trim off the tape and excess elastic, then pull on the loose end to pull the knot snug against the inside of the eyeball.
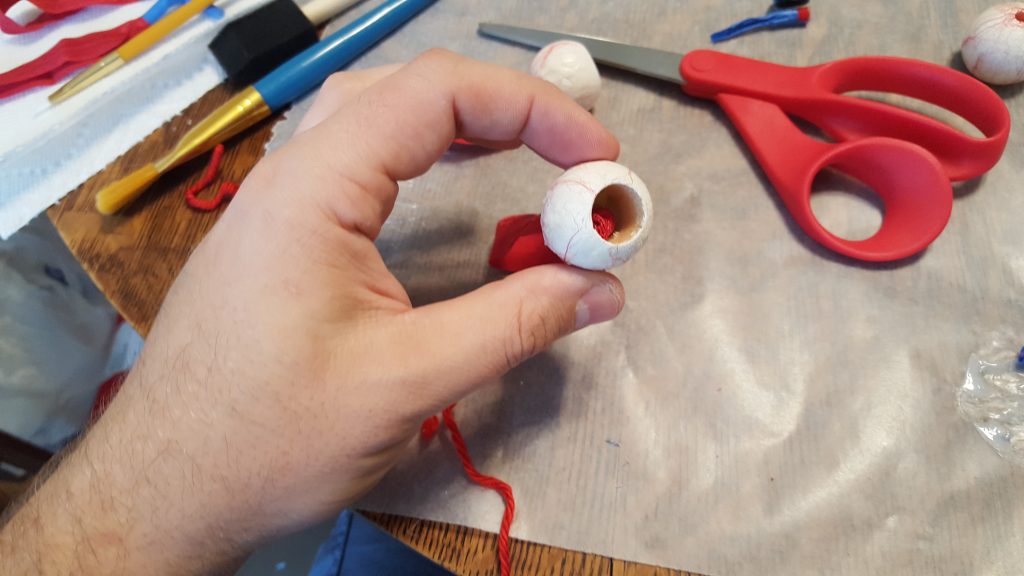
- Very carefully lay a small amount of superglue along the rim of the large hole of the eyeball and place the safety eye covering the hole.
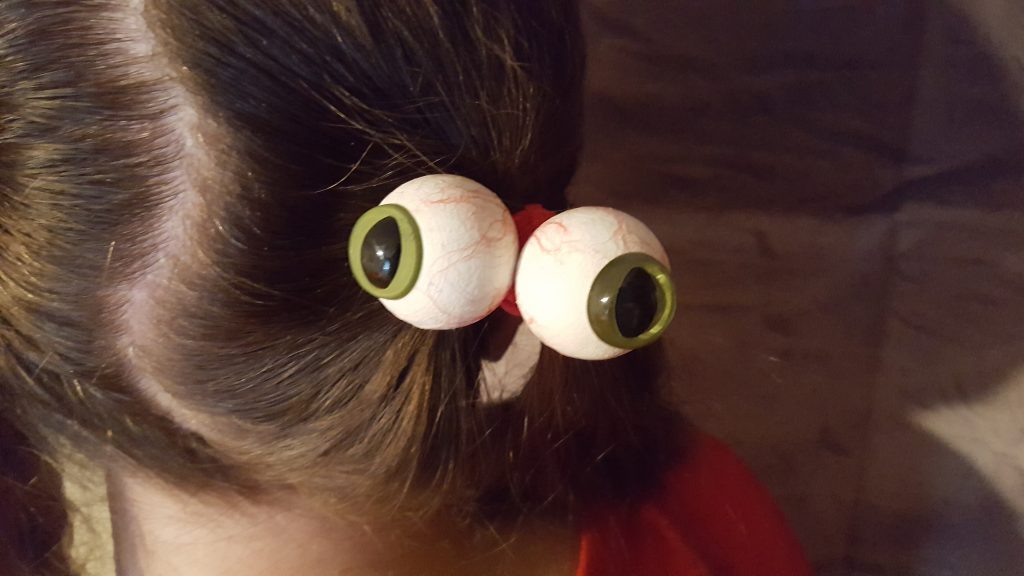
(Note: The sparkly blue safety eyes were a craft store find, and I couldn’t locate them online! They’re 16mm and have a tapered edge. They actually sat inside the hole perfectly, so they’re a little more flush to the eyeball than the cat eyes. I love both, though!)
- Once you’re sure everything is dry, mom needs to put these in her hair! Now when you tell your kids that you have eyes in the back of your head, they’re going to sit up and take notice!
I want to peep your peepers, so post those pictures on Facebook and Twitter and tag me with @geekydadcrafts and #ImAGeek !