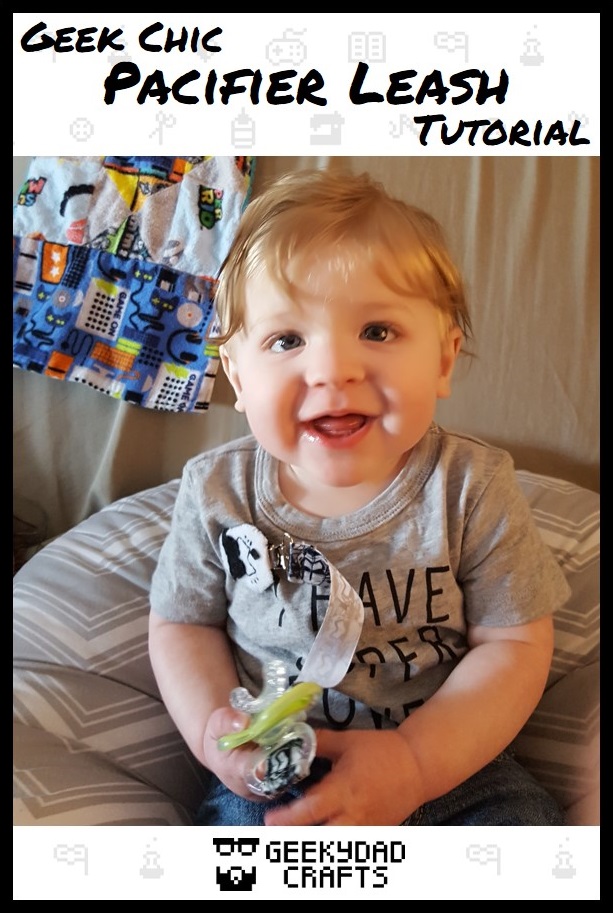
Hello out there, geeks, makers, and friends! I’m back with another tutorial. This time, we’re making a geek chic pacifier leash. Why, you ask? My eight month old son loves his pacifier almost as much as he loves throwing his pacifier. This pacifier leash is a great way to keep pacifiers off of the floor while making a statement!
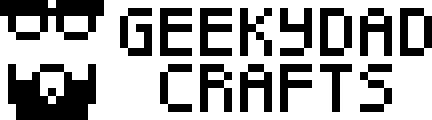
I wasn’t sure what the theme was going to be when I set out on my shopping trip, but when I spotted this Star Wars First Order Stormtrooper ribbon I was in love. I knew my little guy would love the ribbon’s satin texture as well. (Our dude seriously loves satin tags. The first thing he does when given a new toy is a quick taste test of the tag. He wants quality, satin tags!)
You can pick any theme for your pacifier leash that you like, but once we found our ribbon, we knew that our geeky baby was going to help us express our love for one of the cornerstones of geek culture!
This is a great project to showcase both your love of crafting and your favorite fandoms!
Supplies
Shopping List
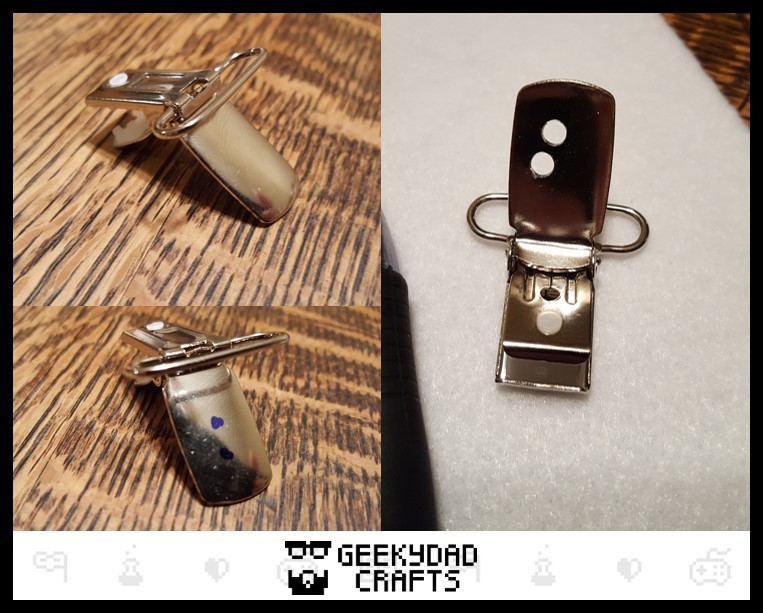
- Mitten Suspender/Clips
- 7/8″ or 1″ wide Ribbon
- Sew-On Soft and Flexible Velcro
- Coordinating Thread
IF You’re Decorating the Clip:
- Felt
Tools
- Scissors
- Ruler
- Sewing Machine
IF You’re Decorating the Clip:
- Hand Sewing Needle
- Drill and Drill Bit
Instructions
Preparing Your Pieces
Drilling The Clip
This step is optional. If you aren’t planning to decorate your clip, do not drill holes in it.
Because I planned to decorate my clip, my first step was to drill a pair of holes in the clip so I could stitch my felt decoration to it. I considered gluing the felt, but I couldn’t think of any glues that would both bond to metal and that I trusted for my kiddo to chew on!
After marking about where the holes should go with a marker, I popped into the garage to drill them out. I couldn’t even tell you what size drill bit I used – The one I already had chucked in the drill looked small enough, so I drilled away!
That said, next time I’ll probably go with a slightly smaller bit, maybe 1/8″ or even 1/16″. I don’t think my oversized holes even impacted the final outcome, but I think I’d have a little more control with a smaller drill bit and might drill just a little bit closer to where I intended!
Cutting Things
This part is pretty simple!
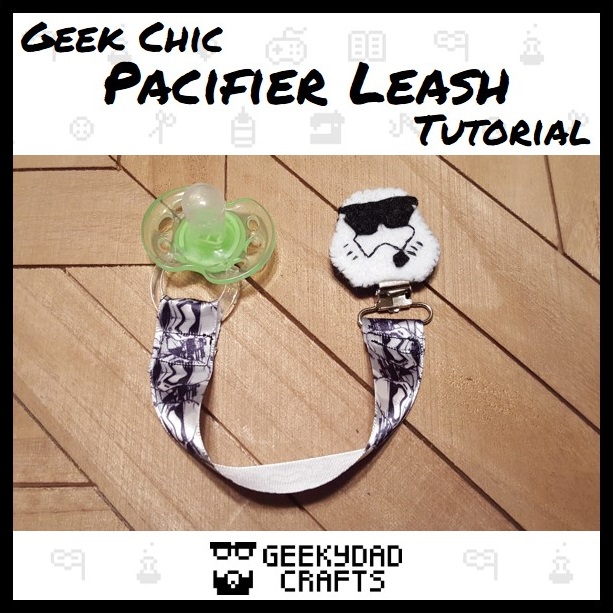
I cut my ribbon to 10″, but you could go longer or shorter. I chose to cut my ribbon 10″ long so that once the edges are sewn over and the pacifier is attached, there’s about 7″ of play. This is long enough for my little guy to hold out his pacifier and look at it, but not so long that I’m worried he’ll wrap it around his neck or anything.

I cut both the hook side (prickly) and the loop side (soft) of the Velcro to 3/4″.
That’s it. That’s all you absolutely have to cut – Unless you want to dress up your clip!
Decorating the Clip
This step is also optional. If you aren’t planning to decorate your clip, skip ahead to final assembly.
I started out by sketching out the design I wanted to cover my clip with. I made sure the design fit in a 1.5″ by 1.5″ square, since that would cover the clip completely without feeling oversized.
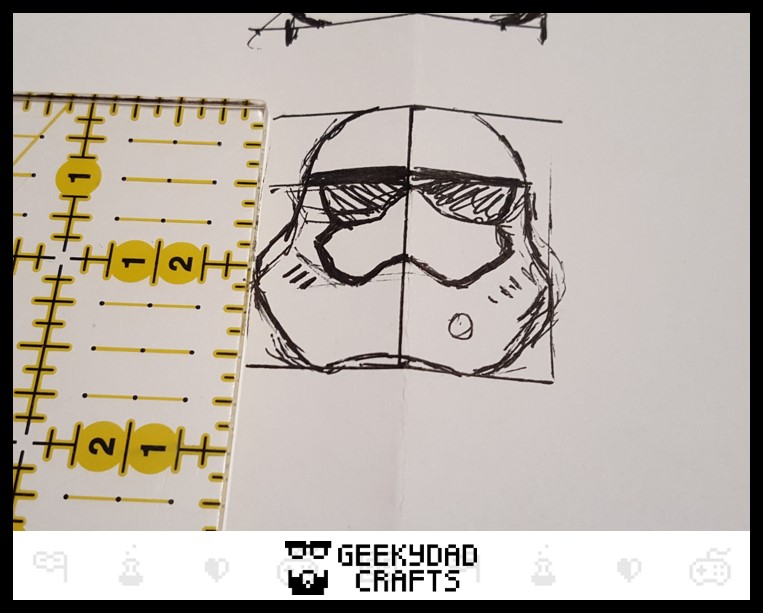
I cut out my sketch and used it as a template to cut the outline of my shape out of both black felt and white felt.
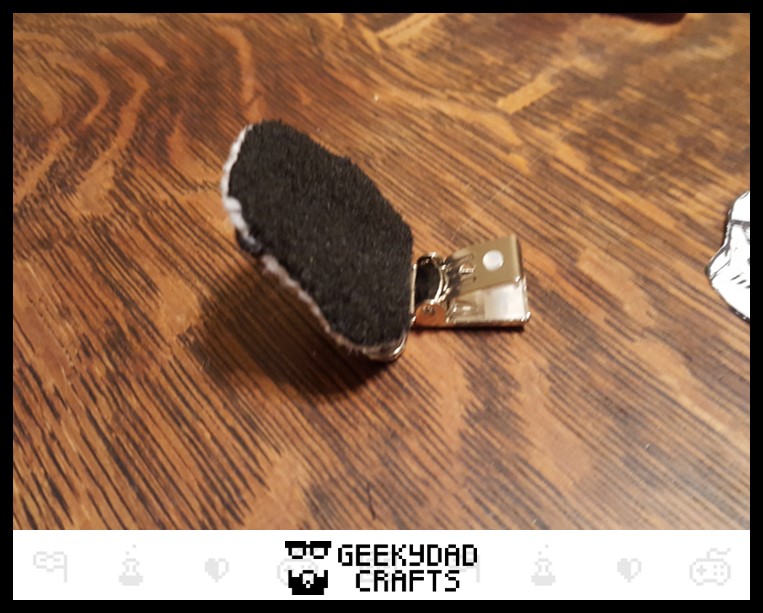
The felt will be stitched so it completely covers the metal tab of the clip (the one we drilled holes in earlier). I stitched the black piece of the felt securely to the back side of the tab by stitching through the holes.
Next, I added embellishments to the white felt. I used a combination of stitches made with black thread for the fine details and small pieces of felt that I sewed on. However you choose to embellish your clip, just make sure it’s secure and non-toxic, because it will end up in baby’s mouth. Baby will find a way.
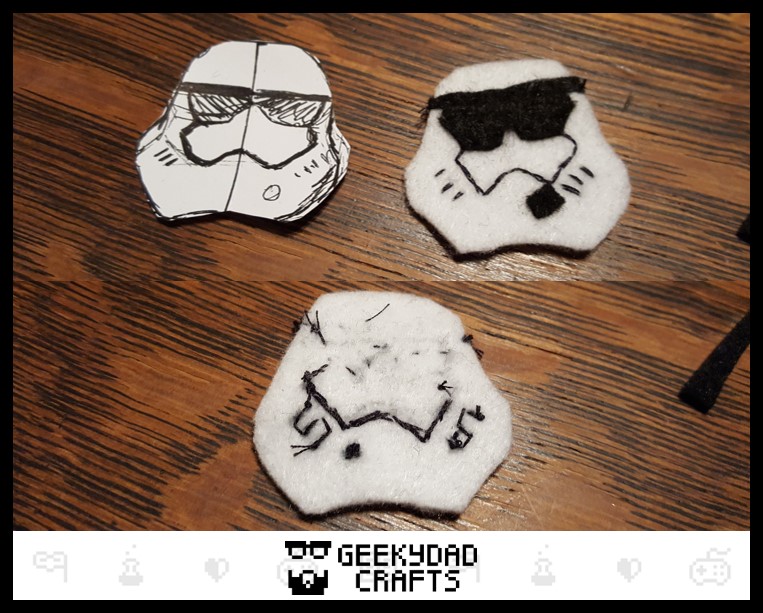
Finally, we attach the front to the back. I went around the whole thing with a series of small whip stitches, and I think it turned out phenomenally!

On to final assembly!
Final Assembly
Gather up your ribbon, Velcro, and clip and head to the sewing machine. We have work to do!
At the sewing machine, I folded over about 1/2″ of one of the cut edges of my ribbon toward the wrong (back) side of the ribbon, then place the hook side of my Velcro (prickly) so that it left about 1/4″ of ribbon exposed. That give me a tab I can use to pull my Velcro loose.
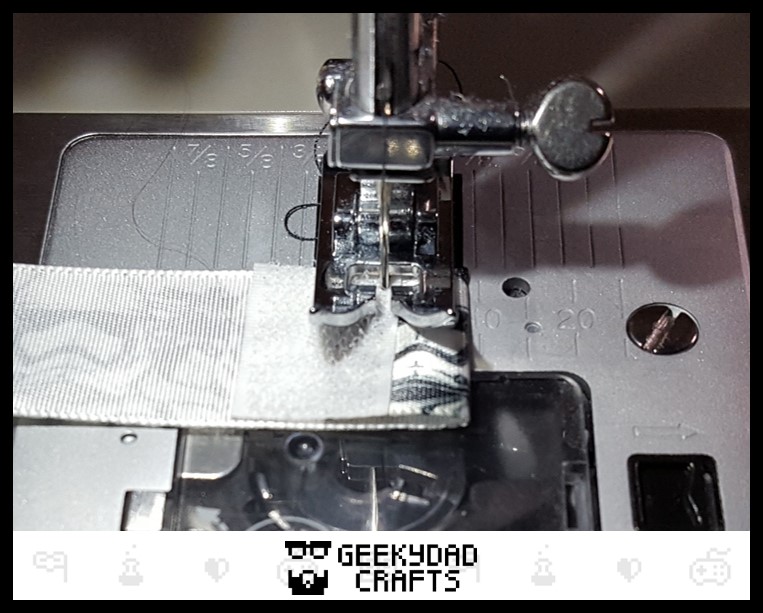
I very carefully placed my needle in one corner and stitched around all four sides of the Velcro. On reaching each corner, I made sure my needle was in the down position and lifted my foot so that I could turn the piece while keeping a consistent stitch.
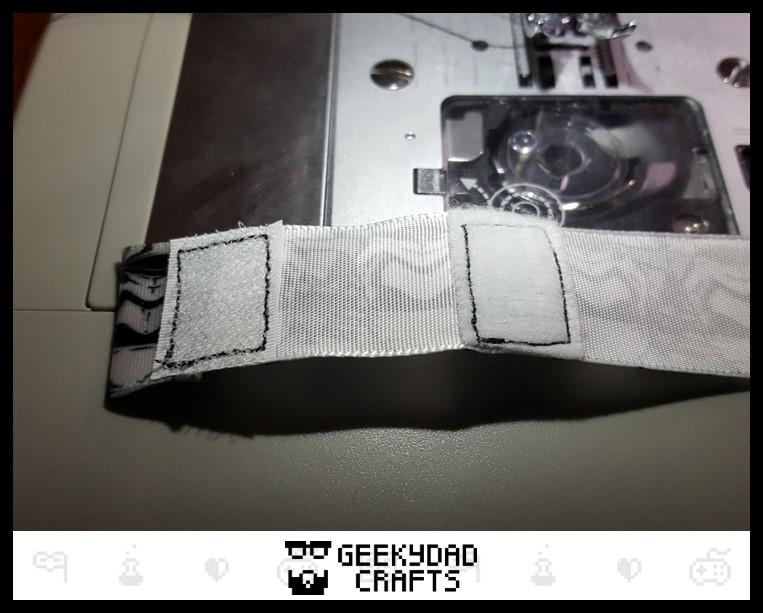
I sewed the fuzzy (loop) side of the Velcro on the same way, about an inch away from the first piece.
Next, I pulled the ribbon through the loop on the clip, making sure that the decoration on the clip and the right (front) side of the ribbon were on the same side.
Raw edges on ribbons like these will fray like crazy, so I folded the edge of the ribbon under about 1/4″, and then stitched it down. I added another line of stitching to secure my ribbon to the clip and then…
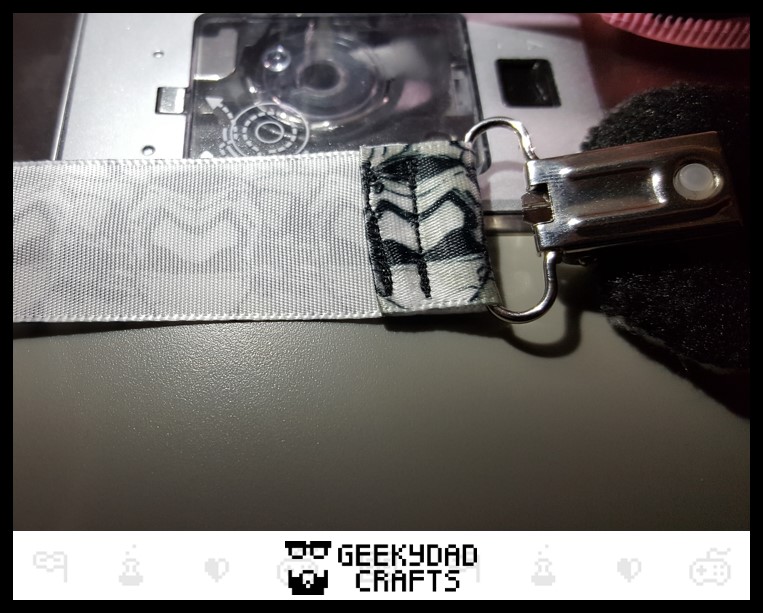
Trim your loose threads and you’re ready to go!
There you have it, a geeky chic pacifier leash to let everyone know your baby is a geek in training! Have fun, and show us your pacifier leashes on Facebook!